
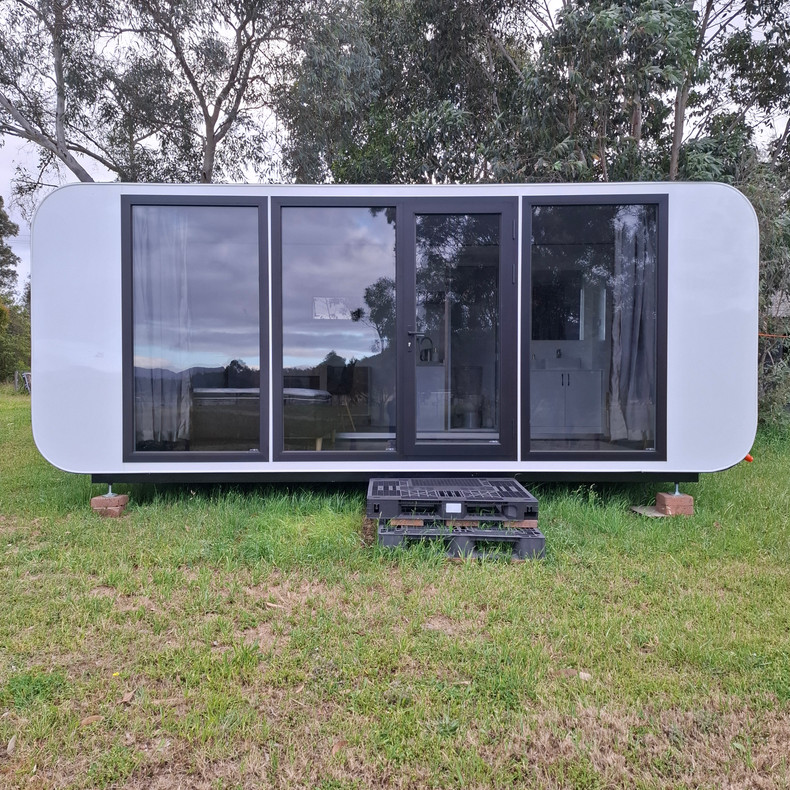
Moving from a tiny-home idea to a pod on your property takes more than choosing a floor plan. The most useful preparation happens before you place an order: confirming the intended use, checking the site and understanding the full cost.
This guide sets out the main questions to work through with Tiny Home Pods and your local advisers.
1. Define what the pod needs to do
Start with the purpose: a workspace, guest room, family accommodation or a proposed rental. These uses have different practical and approval requirements. Think about storage, privacy, accessibility, heating and cooling, and how the space will connect to the rest of the property.
A compact home may reduce the space you need to furnish and maintain, but affordability and environmental performance depend on the complete project. Rental income is also uncertain and needs a separate assessment of demand and operating costs.
2. Check the current model and inclusions
The expandable pod uses a slide-out design and includes a kitchenette and bathroom. Compare the supplier's current floor plan and specifications with your needs rather than relying on older articles or photographs.
- Confirm external and internal dimensions, including space needed for expansion.
- Check included fixtures, storage and appliance provisions.
- Ask about heating, cooling and ventilation for your location.
- Request installation instructions, product documentation and warranty terms.
- Confirm which delivery, setup and connection services are included in the quote.
3. Confirm the approval pathway before ordering
Ask the local council or a qualified planning adviser about your property and intended use. A pod being small, transportable or placed on a trailer does not by itself establish an approval exemption.
In NSW, installation, use of land and service connections can involve different requirements. Check the NSW Planning Portal guidance on section 68 approvals, then obtain advice specific to your proposal. Do not assume that permission for family use also permits rental accommodation.
4. Build a complete project budget
Request a written quote and separate the pod cost from delivery, lifting, site preparation, foundations or supports, service connections, approvals and optional extras. Include furnishings and a contingency for work discovered during site assessment.
If finance is involved, compare the total repayment cost as well as the instalment. For a rental proposal, allow for vacancies, cleaning, utilities, insurance and maintenance rather than treating gross bookings as profit.
5. Assess access and prepare the site
Send the delivery team site photographs and measurements of gates, driveways and the planned position. Discuss slopes, soft ground, overhead lines, trees and obstructions before confirming delivery.
Have the supporting surface and any anchoring requirements assessed for the site and installed to the relevant specifications. Arrange water, wastewater and electrical connections with appropriately qualified trades. Delivery and physical expansion do not necessarily mean the pod is ready for occupation.
6. Confirm delivery and handover
Agree on the placement method, access requirements, responsibilities and any extra crane costs in advance. Confirm the current lead time directly with the supplier.
At handover, check the installation, test the supplied fixtures with the relevant trades and keep the instructions, approvals and warranty paperwork together. Resolve outstanding connection or approval requirements before using the pod for its intended purpose.
See the layout before deciding
A display visit can help you judge the available space, storage and finish. Contact Tiny Home Pods to arrange a viewing and discuss your site, budget and intended use.